How to utilize Marker Tags?

THE DILEMMA
Usually, big warehouses have different sections they store their products in. Every section has different shelves, and you think to yourself, "Wow, that would be a huge number of locations in my database." Generally speaking, that's doable, and that is, indeed, possible. But, there are more efficient and less tedious ways of doing that.
INTRODUCING THE MARKER TAGS
The Marker tags are a nifty tool to create a more organized tagging of smaller locations (or shelves) in your warehouse. It's recommended to commission marker tags through Wave, but you can also use Pogi, should it be easier for you.
Essentially, these tags are associated with your RFID(asset/item) nearest to it. This will make it easier for you to organize an area specific to one marker.
HOW TO ADD A MARKER IN POGI
- Log-in to POGI
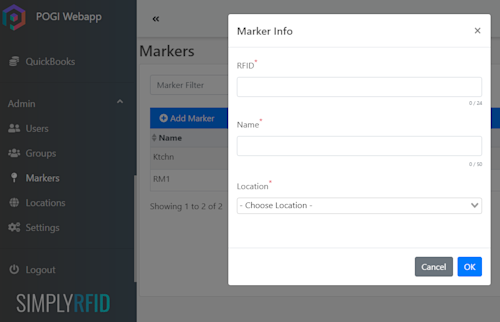
- By now, you should be familiar with the icons of POGI. You can click the pin icon to navigate to the Markers page.
- Type in the RFID you wish to use. You can use any RFID tags that fit best with the surface you are attaching on.
- Fill out the Name field and choose a Location you'll associate it with.
- When you're all happy with the settings, click okay.
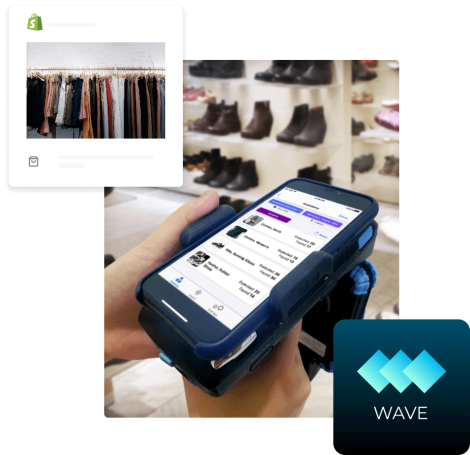
Now, you can repeat the process of adding more markers that you need for a specified area. However, we highly recommend using the Wave app instead. This method is faster and avoids user error when typing in the RFID numeric sequence. To know more on how to add Marker tags using Wave, visit this page.
What do you think would be the best way to use marker tags? Feel free to reach out to our support team should you have further questions.
