Creating and using Marker tags in Wave Inventory
What are Markers?
Markers are RFID tags that can be associated with other tags in a specified location. Any RFID tags can be used for creating a Marker. When doing Inventory scans, it will associate the scanned tags with the nearest Marker tag identified by its RF signal strength. This feature is useful for marking multiple specific areas in a single location.

Creating a new Marker Tag
Creating a new Marker is as simply as commisioning a new tag.
- Navigate to Quick Tag Page
- Click on the Markers Tab
- Click on the Tag ID field and squeeze the CS108 handheld trigger to scan the RFID tag
- Input the marker name on the Marker ID field
- Select a Location
- Click Save
Using Markers in Inventory
Enable Markers in Settings
To enable markers to be included in Inventory scans
- Go to the Settings Page
- Go to Utilities group
- Click on Inventory
- Toggle the Marker button to enable
Scan tags in Inventory
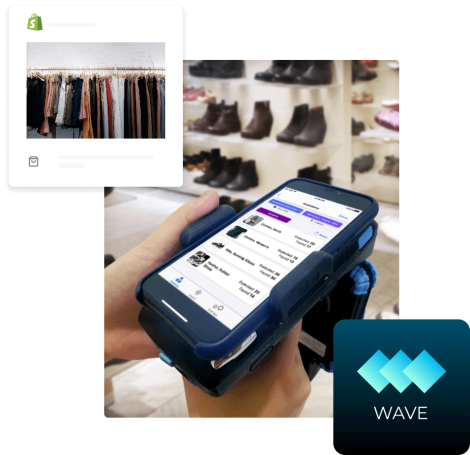
With Markers enabled for Inventory, scans will now detect the nearest marker tag. The detected marker tag will be displayed on top of the inventory list.
Use Pogi to Filter out Tags with Marker
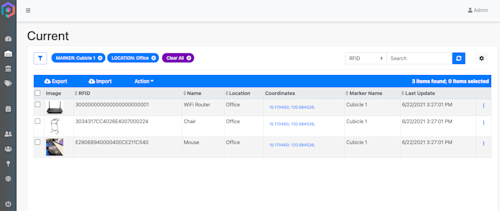
The inventory can then be saved by pressing the Save button. This will then reflect on the Pogi Dashboard. This can be used to filter tags associated with the detected marker.

