SimplyRFiD Pogi Server User Manual
Thank you for purchasing SimplyRFID’s Pogi Server. Before using the product, please read this manual carefully to fully understand the functions and performance of the Pogi Server so as to ensure correct use.
Key Functions
1. Database Storage Pogi is a web-based server that stores the essential RFID tag data for inventory management and control. Pogi stores the following information: Tag ID, Asset ID, Read Date, Tag State, Location.
2. Optimized Speed in Database Search
Key Features
1. Report Generation The report generation module allows you to directly extract all the information you want from the database and either view it directly online or export it in open formats via Application Program Interface (API) or to an end-user running a web User Interface (UI).
Pogi can run complex reports (real-time mapping, alarms, workflow) and may be integrated with cubing or data mining storage for heavily complex queries.
2. Database Filtering Database filtering allows you to see only the data that you want displayed in Pogi database. You can use filters to display specific records in a report, query, or datasheet.
Limitation
Pogi does not act on the data, it is optimized to rapidly store and search data.
Upon purchase of the Pogi product, you will be provided with a dedicated Pogi Web Address together with login credentials to be used to access the Pogi Server.
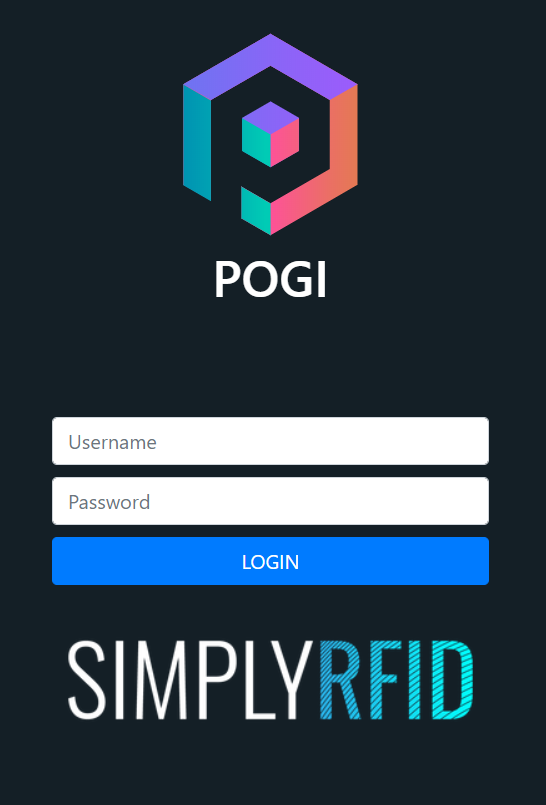
To Access the Pogi Server:
- Open a web browser and type in the Pogi Web Address. (See your welcome email for the link)
- On the LOGIN page, type the username and password.
- Click LOGIN.
Navigating Through Pogi
Pogi has several pages, each having different functionalities and can be accessible through the Navigation Panel on the left hand side of the page. Also shown on the upper right corner is the current user that is logged in.
 Pressing the Menu button will expand the navigation pane on the left hand side of the page.

- Dashboard Button - It allows you to switch to the Dashboard page
- Historical View Button - It allows you to switch to the Historical View page
- Quick Tag Button - It allows you to open the create Quick Tag page
- Report Page Button - It allows you to open the Report pages
- Users Button - It allows you to switch to the User management page
- Markers Button - It allows you to switch to the Markers management page
- Groups Button - It allows you to switch to the Groups management page
- Locations Button - It allows you to switch to the Location management page
- Settings - It allows you to switch to the Settings page
- Logout - It allows you to end the current session
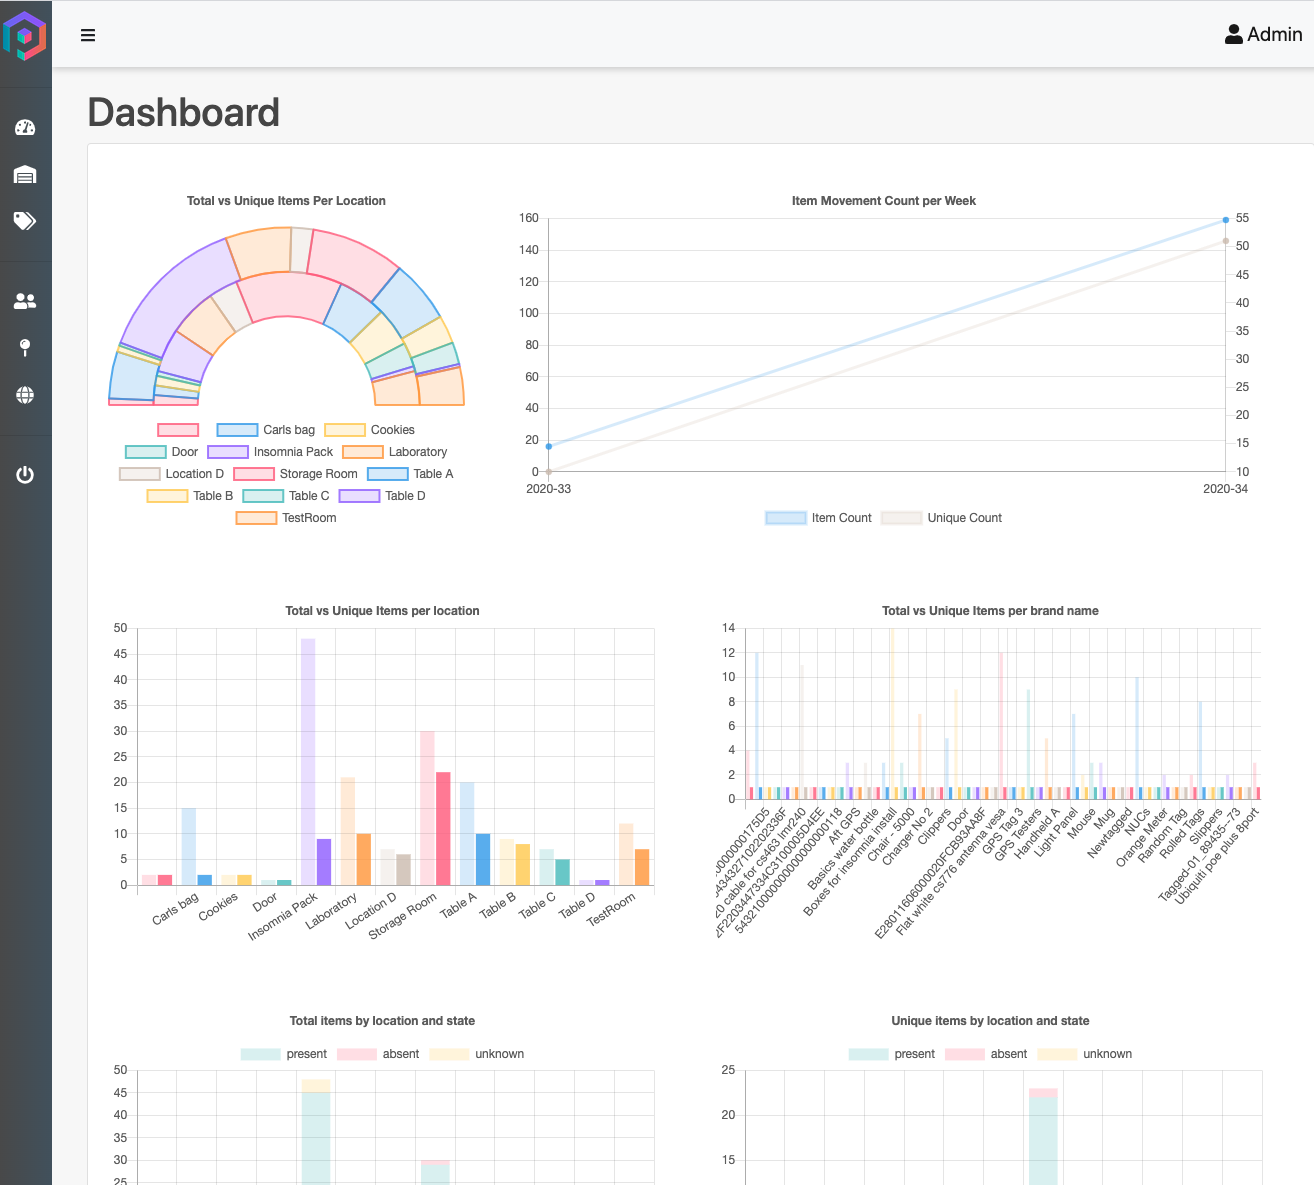
Upon login, the Pogi Dashboard appears on your screen. This contains the charts and graphs for quick data visualization.
The Current View page shows all of the current items in the inventory. This also contains various tools for searching the database, importing items, doing batch actions for multiple items, and generating reports.
 Current View sample results page
The History View page displays tag movement information. It also contains search tool allows you to filter information from the database and display specific records in a report, query, or datasheet.
 Historical View sample results page
I. Search
 Search Parameters - Selection list for specifying which column/field to start search query.
Search Field - Text entry for searching specific items with the selected search parameter.
Search Button - Triggers the start of the search query.
Filter Button - Opens the filter options.
Reset Button - Clears all search and filter parameters.
 Update Date (from) - It indicates the start date of the search query.
Update Date (to) - It indicates the end date of the search query.
Location - It indicates the specific location of RFID Tag data to search.
Marker - It indicates the Marker of the RFID Tag data to search.
Reset Button - Resets all the filter fields and the search results.
Apply Button - It will apply the specified filter parameters.
How to Search the RFID Tag Database
- Go to the Search section
- Select a search parameter in the Search Parameters
- Type in the search item on the Search Field
- Click the Search button to display the search results.
- Add additional information on the filter fields to narrow down the results: Dates, Marker, Location and click Apply.
II. Search Results
The Search Results page displays the results on the search parameters you’ve set using the Filters Search. You can set the number of items to be displayed on the search results page using the “Show” field. The current default is set at 15 items per page.

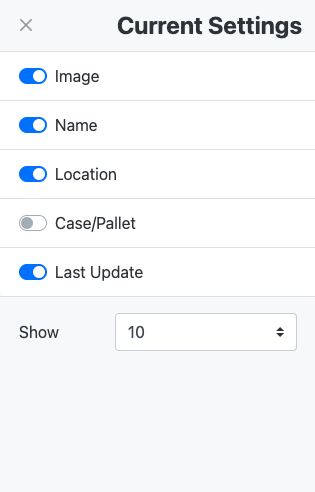
The table columns for the Search Results can be modified through the Show/Hide columns button found on the right side of the Filter. Each column can be toggled on/off through their individual toggle button and rearranged by dragging the column item up or down. The Show selector in the settings is for setting the number of items to show, changing this will also automatically update the table.
Item Sorting Headers
The Search Results Columns have a built-in sort function that can sort the values either in ascending or descending order. To sort a data set just Click on the column header title to toggle ascending or descending order.
Item Details
Clicking on the item row will open up the item info modal which contains the basic information associated with the item.

Item Action
Clicking the Action Button found on the right side of the row will give you the option to Edit, Delete or Track the item.
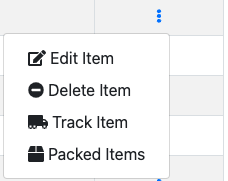
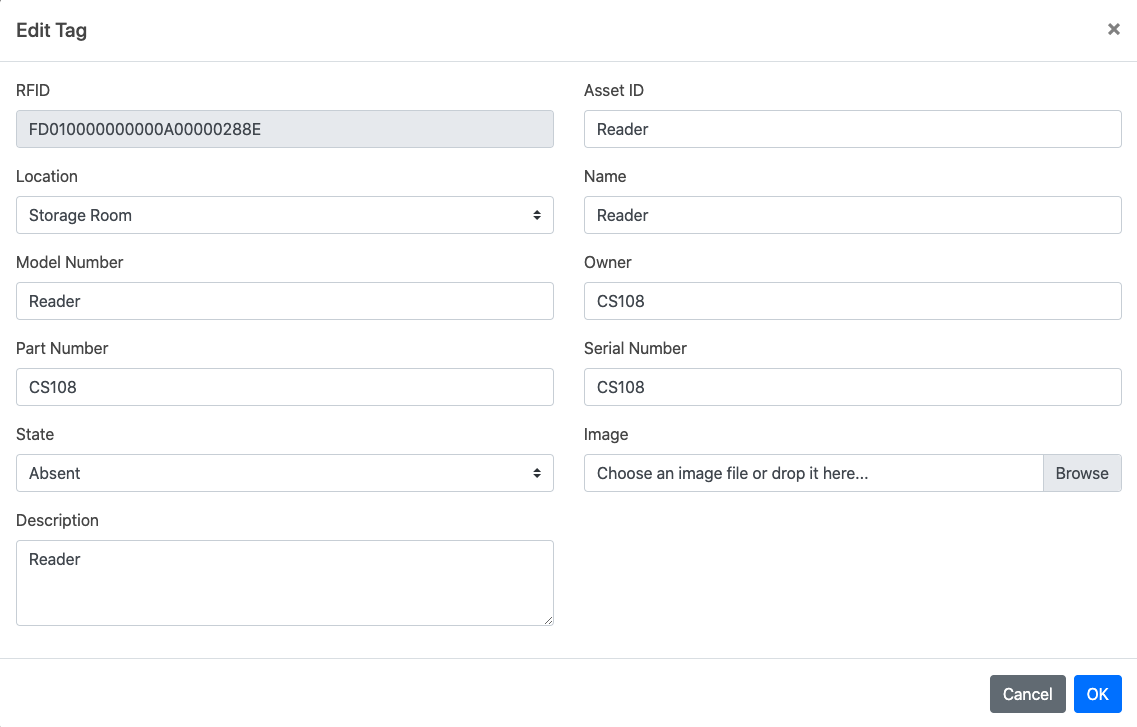
1. Edit Item
Selecting this action will allow the user to edit the associated item information.
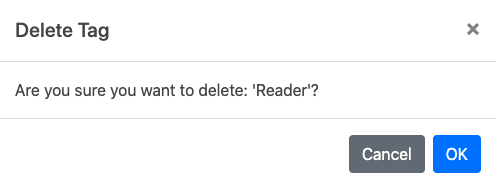
 2. Delete Item
Selecting this action will allow the user to delete the item from the Database.
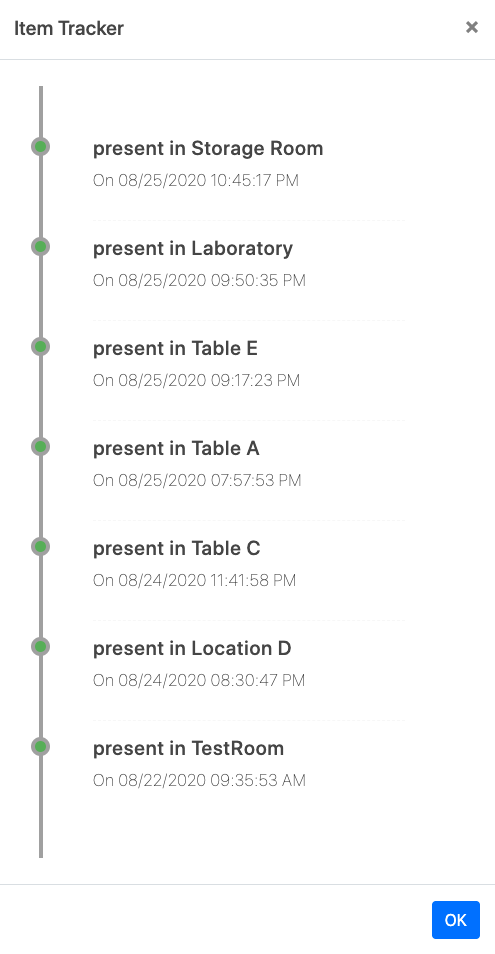
 3. Item Tracking
Selecting this action will open a pane containing all the locations and date information tracking the movement of an item.
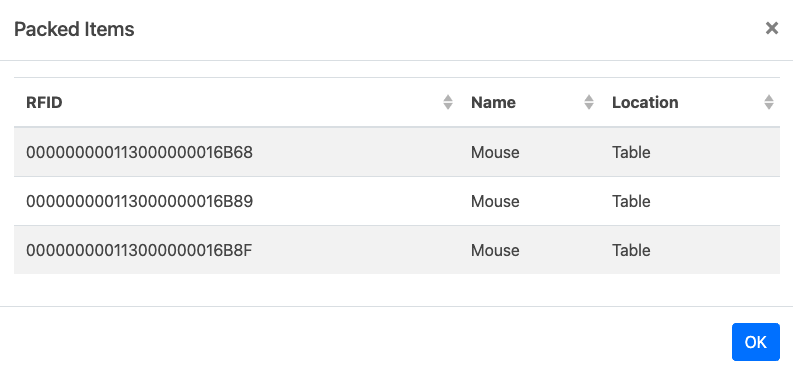
 4. Packed Items
Selecting this action will open a pane containing all the items packed in this item.
III. Page Numbers
The Page Numbers allows you to cycle through the search results.

IV. Export Button
The Export Buttons allow you to download the data generated by the search results.

Clicking this button will give you the option to select the format and content.

File Format - Select the download file format (CSV or JSON).
Included Columns - Sets whether to include all fields or only the fields visible on the Results List.
Included Rows - Selects whether to include all, visible, or selected items on the Results List.
NOTE: If the data to be downloaded exceeds 10MB, you’ll need to contact Support.
V. Batch Action Button (Current View only)
The batch action allows you to perform batch actions to selected items in the search results. Items can be selected by clicking the checkbox on the left side of the item row in the results table.

VI. Import Button (Current View only)
The Import tool allows for uploading CSV files to add or update items in the inventory. The formatting can be best derived from the CSV file generated and downloaded through the Report buttons.

How to Import CSV for inventory
- Click on the Import button.
- On the Upload File popup click on the Browse button.
- Browse and open the CSV file.
- Review the CSV data shown in the Structure and Sample Data tabs.
- Click Import Data to proceed.
- Close the notication once finished.
A Quick Tag is a tool for commissioning a tag to an Asset ID and associate it with an RFID Tag that has been added or to be added in the Pogi database.
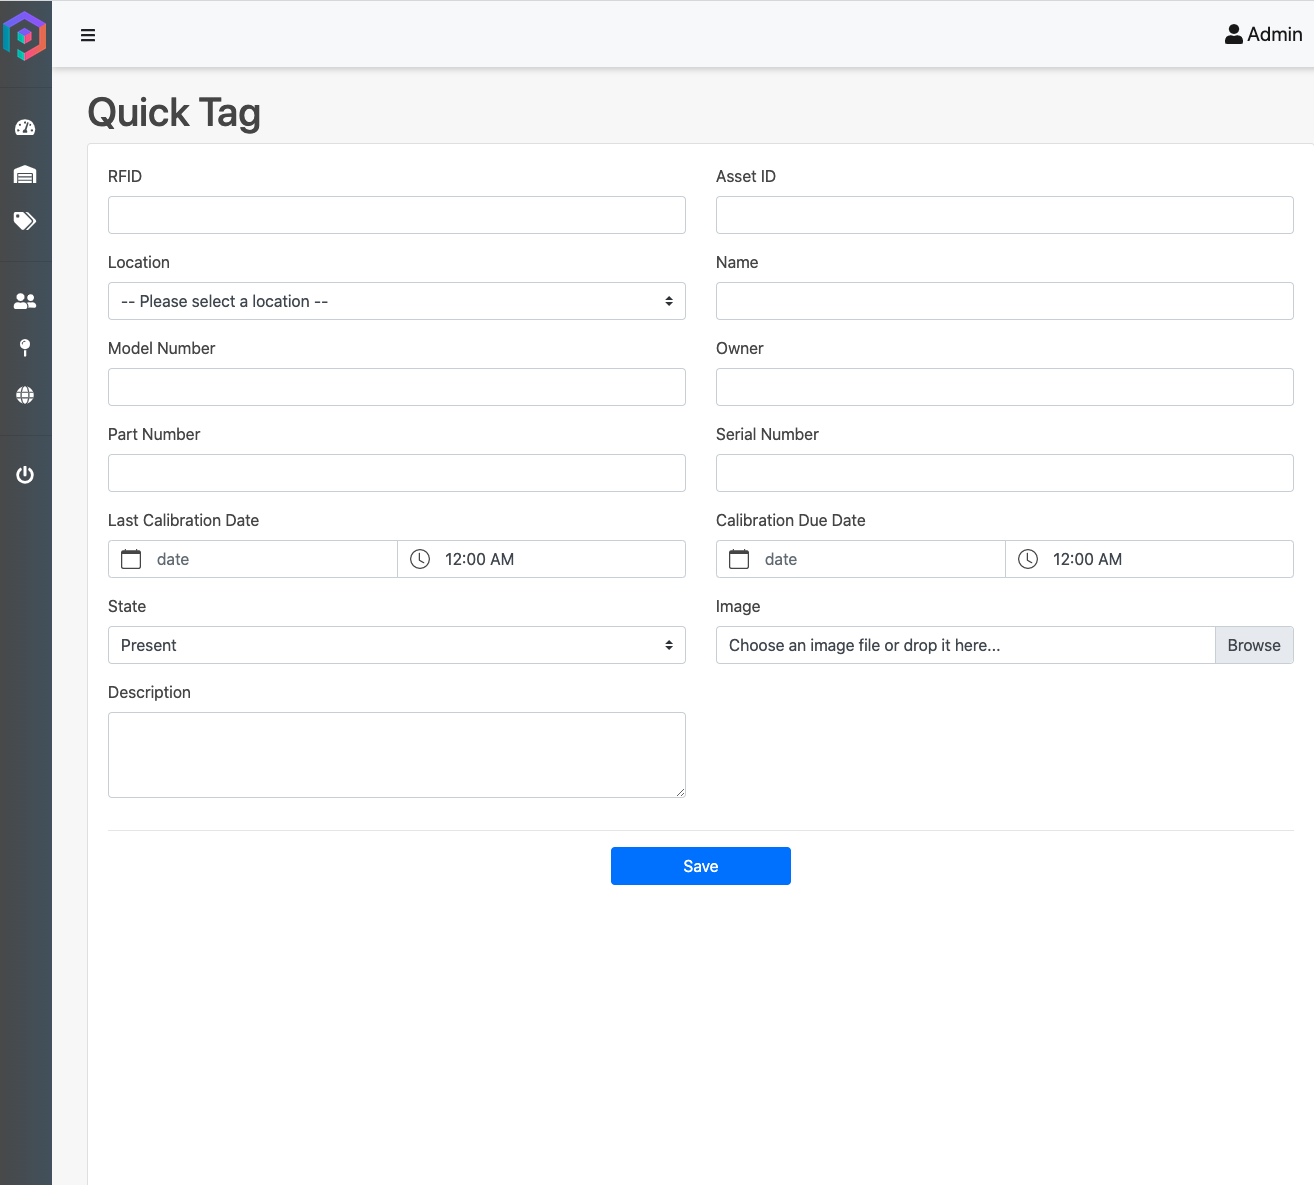
How to Create a New Quick Tag
- On the pop-up window, type in the RFID Tag ID and then select a Location to be commissioned. The other required fields can be filled.
- Click the Save button.
- A notification button stating “Quick Tag Saved” will appear once the Quick Tag has been saved.
The Report Pages contains customized read-only reports based on Inventory items. Reports generated on this pages can be printed or saved as PDF or HTML files for documentation purposes.
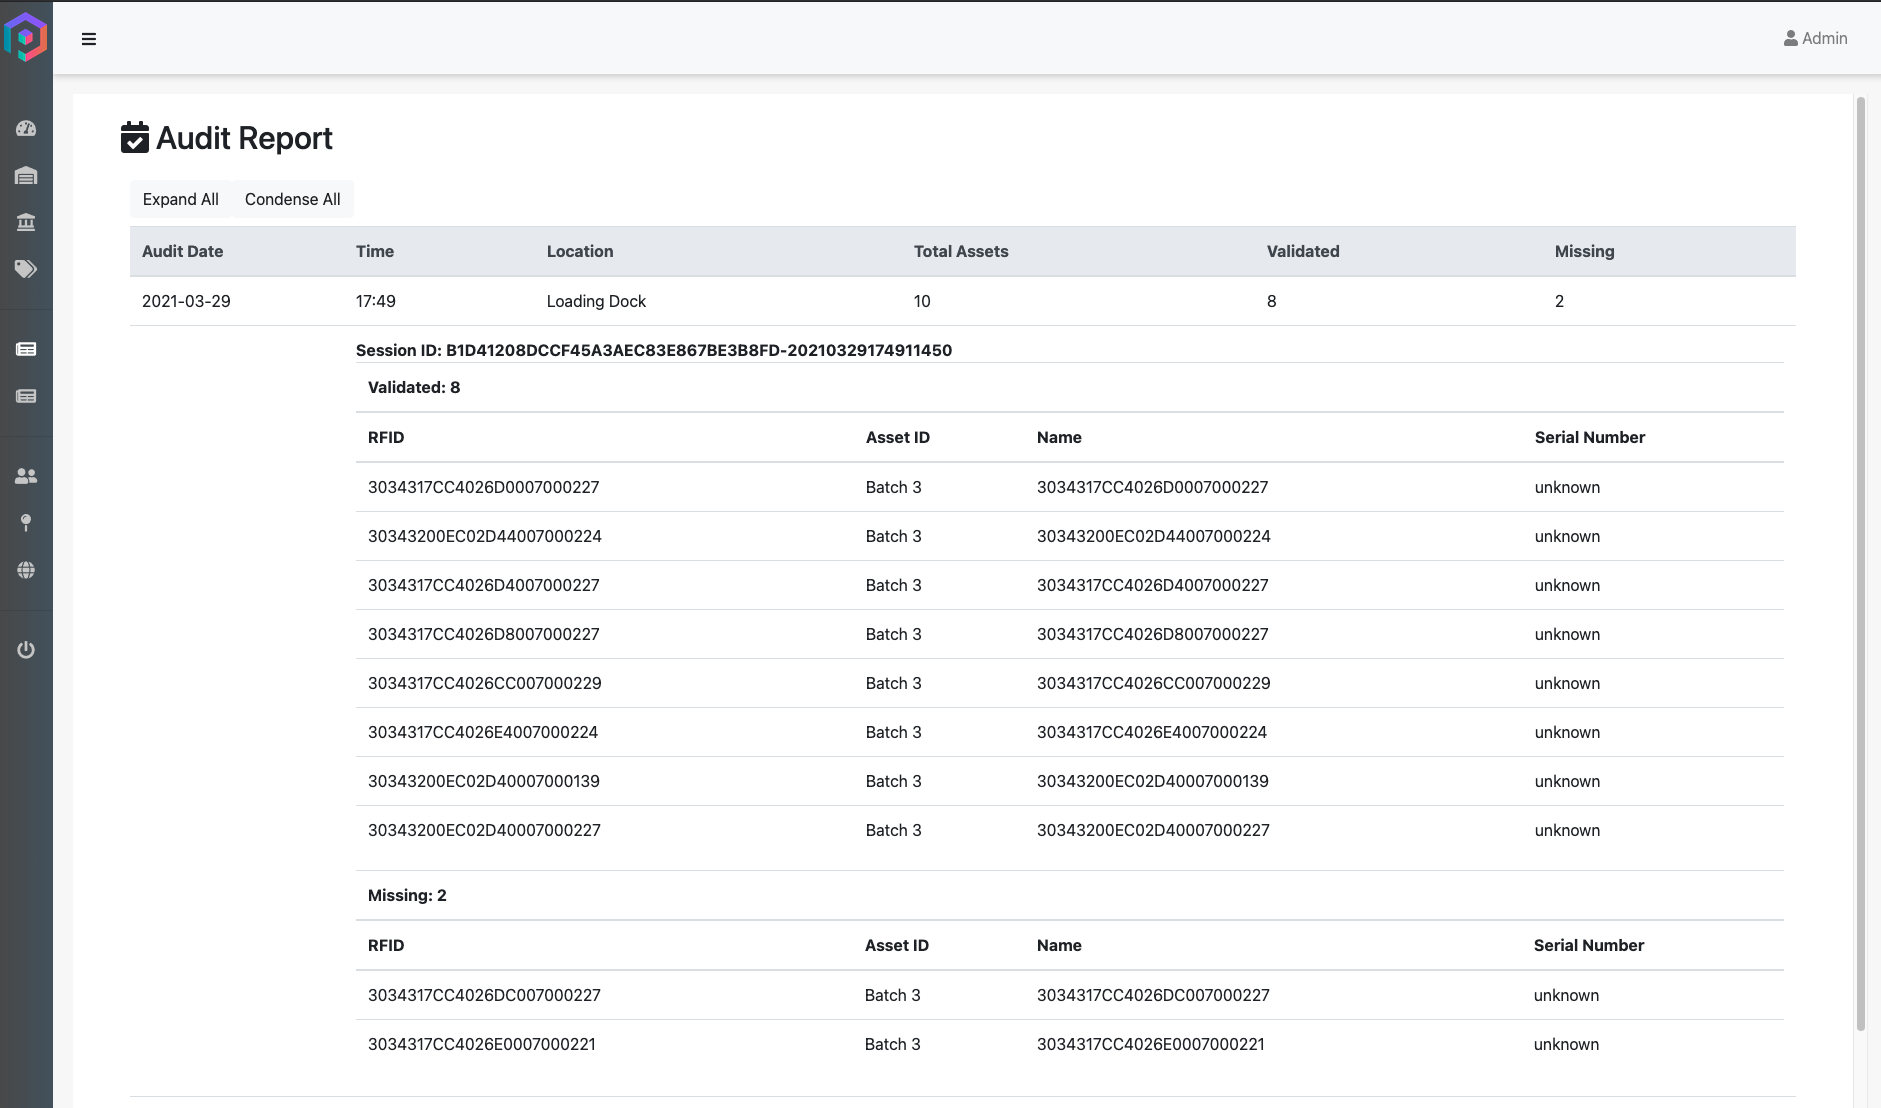
Audit Report
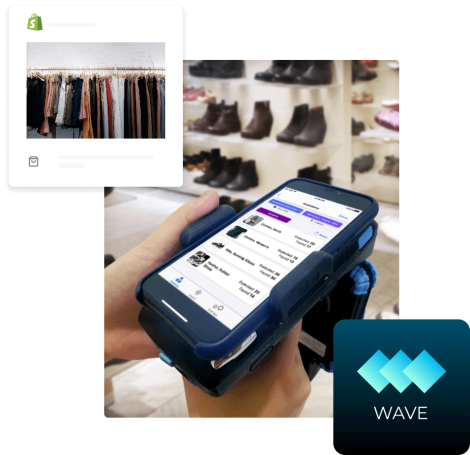
This report page contains the audit list of present and missing inventory items when Wave app Inventory is saved.
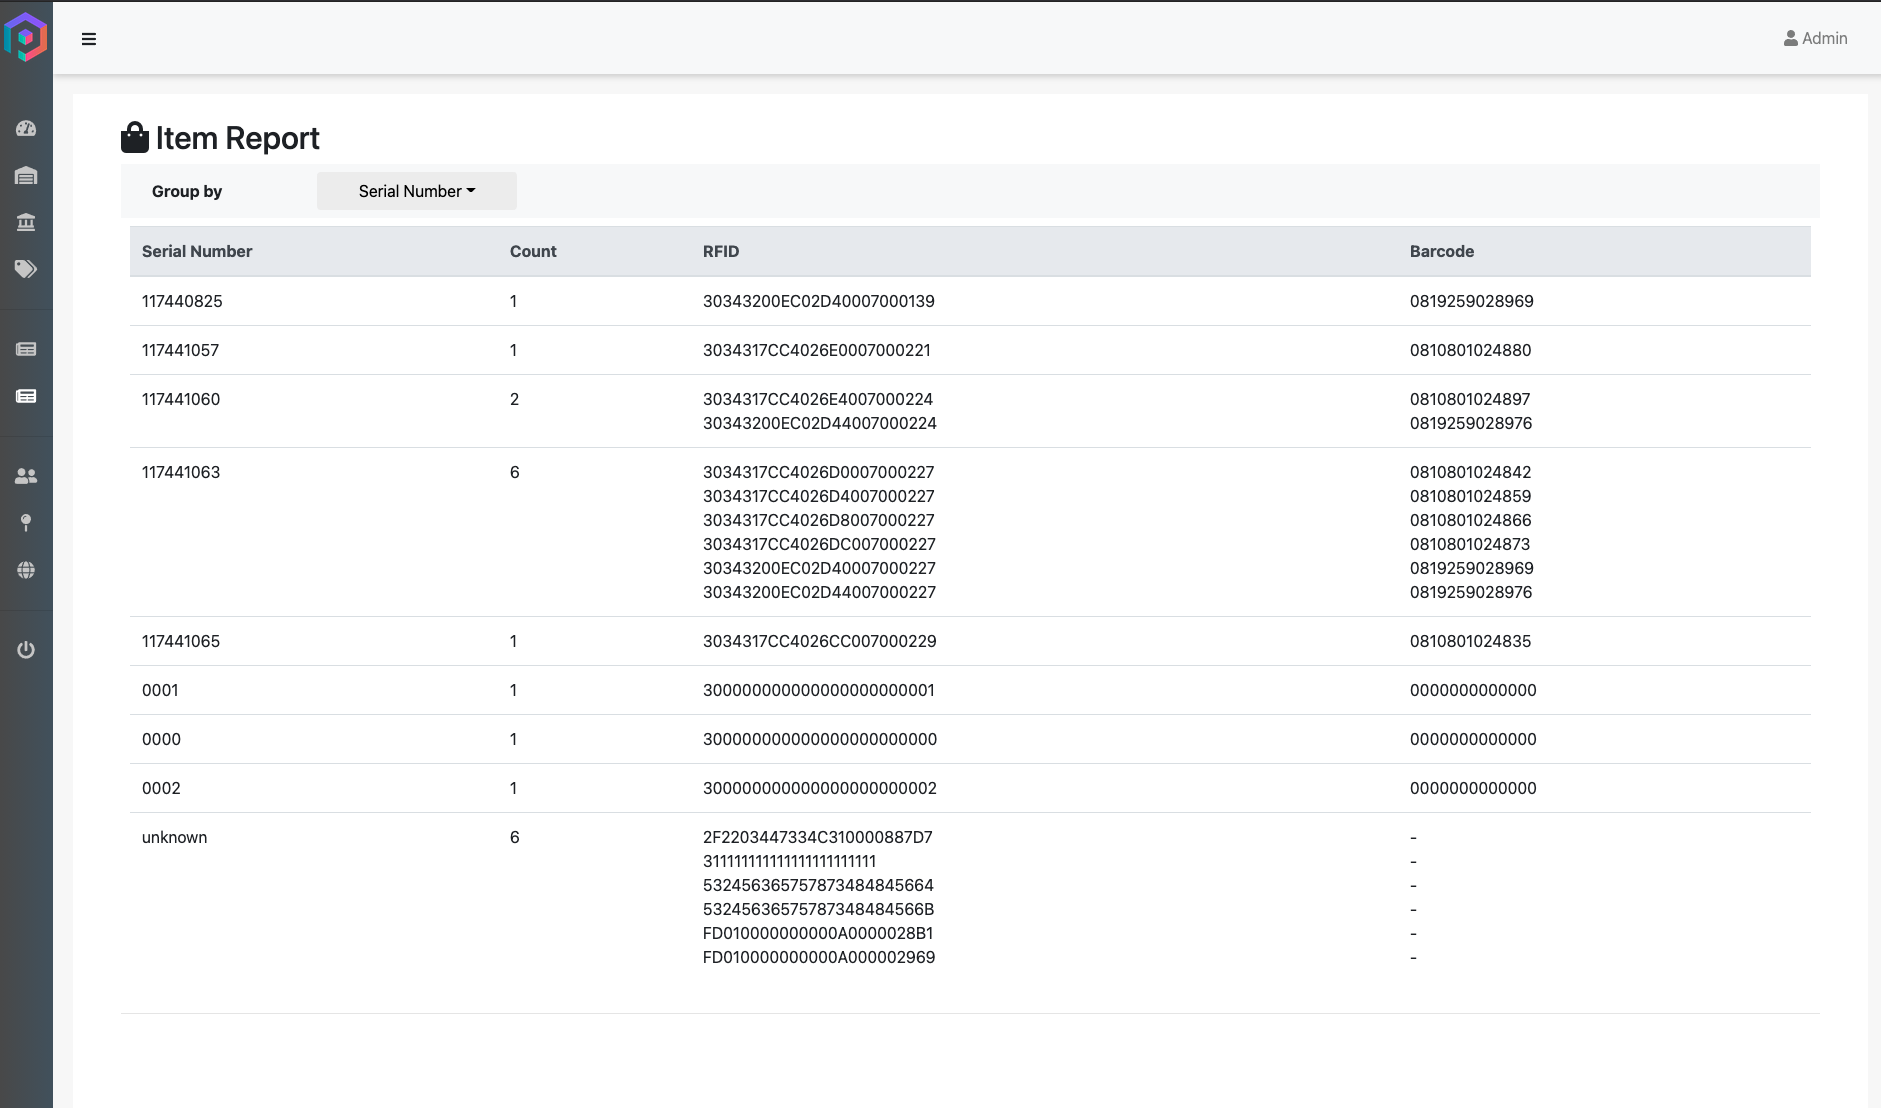
Item Report
This report page contains item counts depending on the selected grouping/field. This will give a quick overview of all the items in your inventory.
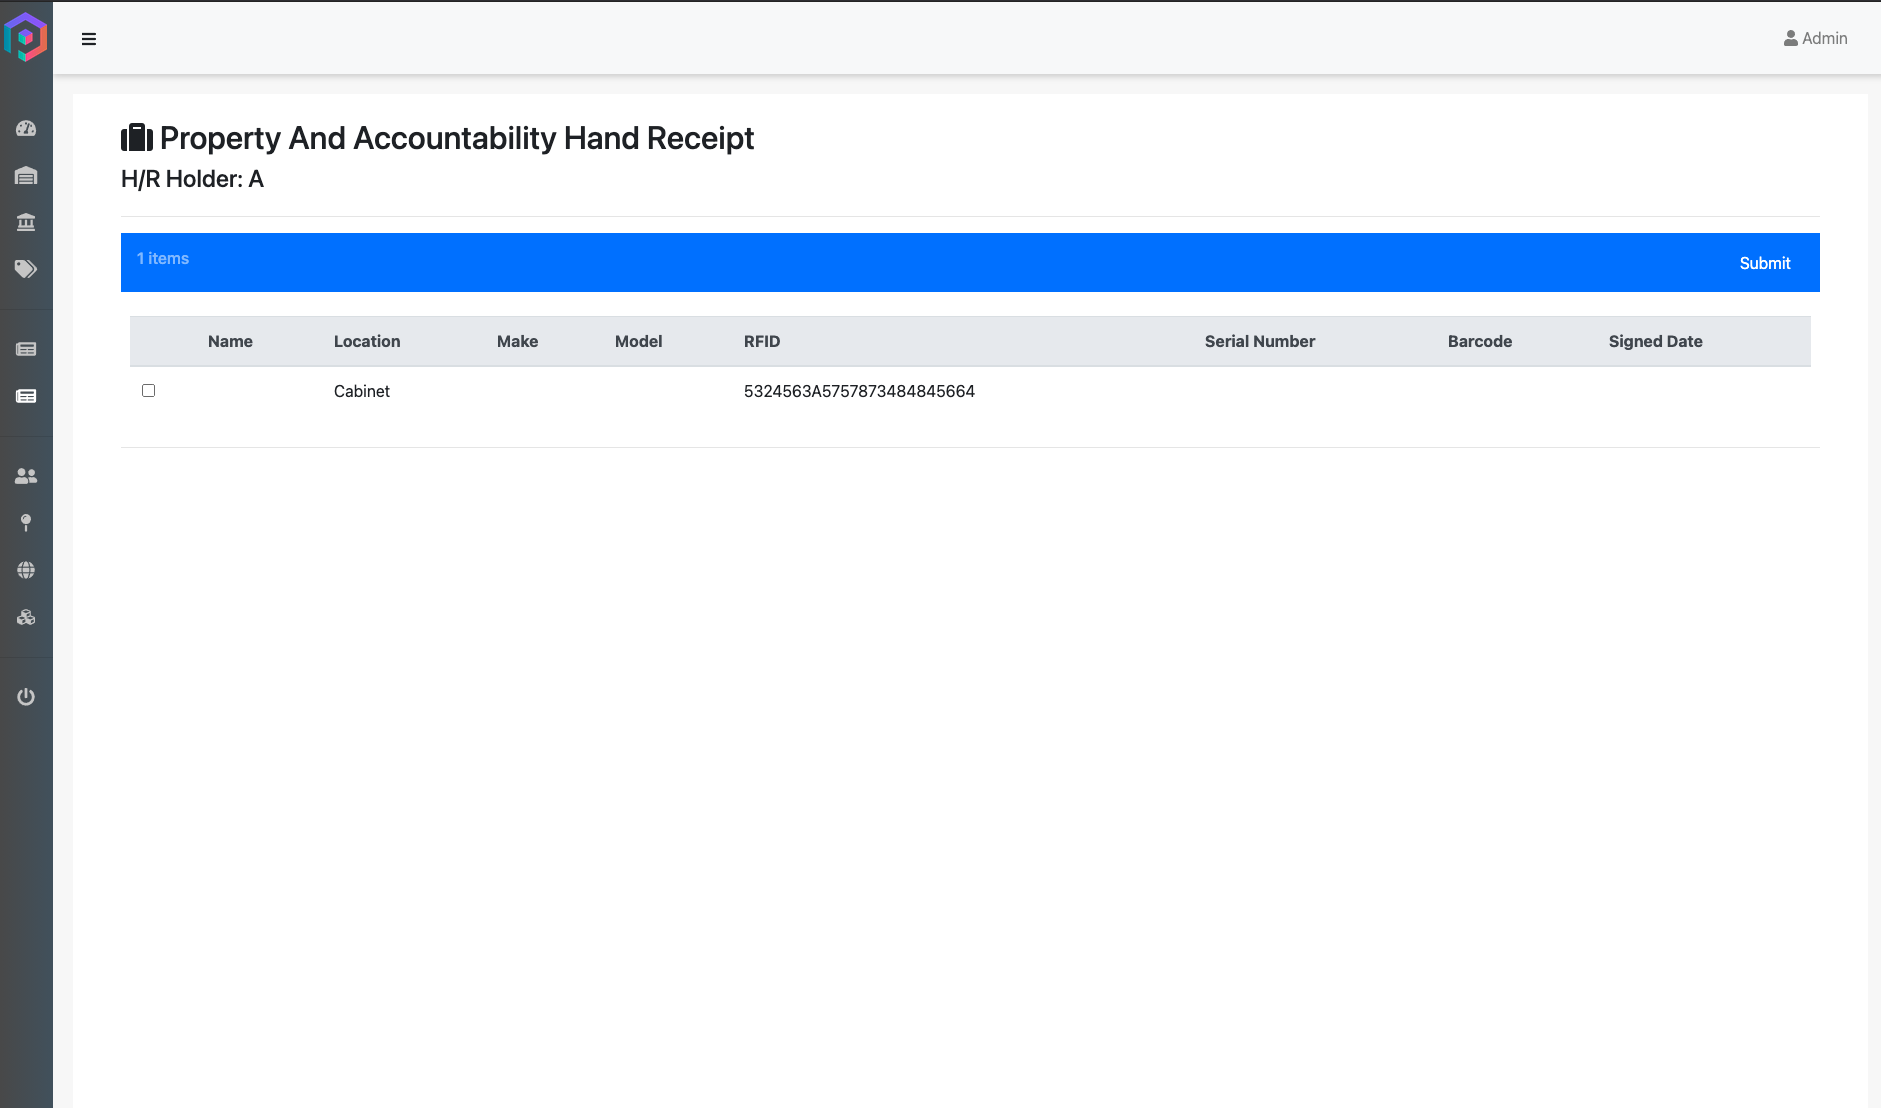
Hand Receipt
This report page is used for generating printable receipts or forms that can be used for documenting movement of inventory items.
QuickBooks Migration Tool
This report page is used for generating CSV files that can be used for exporting data to QuickBooks.

The User Management Page allows the Admin type Users to Add, Update, and Delete a user.

- Search - A text field that filters out the users by their Username or Name.
- Show - Changes the maximum number of items to show on the Results.
- Results - It displays the results on the search parameters you’ve set.
- Action Button - It displays a pop-up window that gives you option to edit or delete a user.
- Add User - It displays a popup window that allows you to add a new user.
How to add a new User
- Click the Add User button to open the User Info pop-up window.
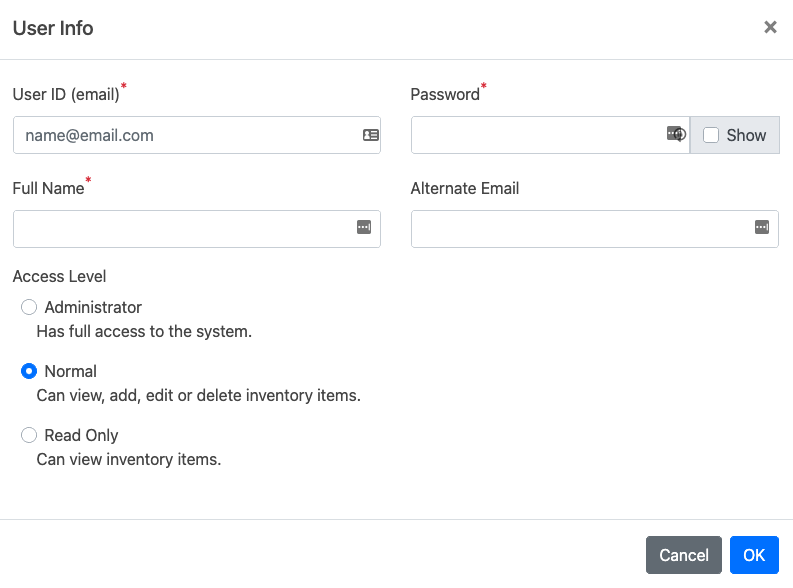
- Type in the Username, Name, and Password on the User Info pop-up window.
- Click the OK button.

How to update a User
- Click the Action button on the right side of the User's row.
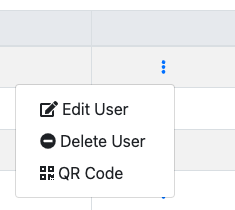
- Click on the Edit User button.
- Edit the information which is displayed on the User Info pop-up window.
- Click OK to save the update on the User Information.
- A successful update notification will be displayed.

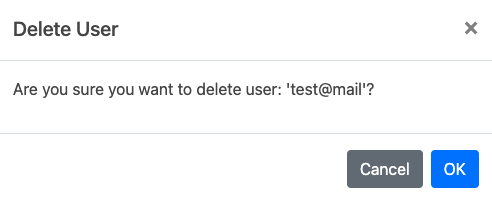
How to delete a User
- Click the Action button on the right side of the User's row.
- Click on the Delete User button.
- Click the “Delete” button on the confirmation pop-up window to confirm the intentions to delete the user.
- Or, click the “Cancel” button to cancel the action to delete the user.

How to show Wave QR Login Code
- Click the Action button on the right side of the User's row.
- Click on the QR Code button to display the QR code.
- Scan the code using your Wave app to login.
Assigning Groups to a User
This can be done if there are Groups created in the Groups Management Page.

- Click the Add User button or the Edit User button to open the User info Modal.
- Toggle the checkbox to assign which group the user is assigned to.
- Click OK to save the update on the User Information.
- A successful update notification will be displayed.
The Markers Management Page allows the Admin type Users to Add and Delete markers.

- Search - A text field that filters out the marker by their Marker ID, RFID or location.
- Show - Changes the maximum number of items to show on the Results.
- Results - It displays the results on the search parameters you’ve set.
- Action Button - It displays a pop-up window that gives you option to delete a marker.
- Add Marker - It displays a popup window that allows you to add a new marker.
How to add a Marker
- Click the Add Marker button to open the Marker Info pop-up window.

- Type in the RFID and Marker ID, and select a location on the Marker Info pop-up window.
- Click OK button to proceed.

How to delete a Marker
- Click the Action button on the right side of the Marker's row.
- Click the Delete Marker button.
- Click the Delete button on the confirmation pop-up window to confirm the intentions to delete the marker.
- Click Cancel button to cancel the action to delete the marker.
Pogi Groups are used for restricting location access for different users. The Groups Management Page allows the Admin type Users to Add, Edit and Delete groups. Assigning groups to a specific user can then be done on the Users Management Page. Once set, the users can now only operate on the locations that is/are assigned to their account.

- Search - A text field that filters out the group by their name.
- Show - Changes the maximum number of items to show on the Results.
- Results - It displays the results on the search parameters you’ve set.
- Action Button - It displays a pop-up window that gives you option to delete a location.
- Add Group - It displays a popup window that allows you to add a new groups.
How to add a New Group
- Click the Add Group button to open the Group Info pop-up window.
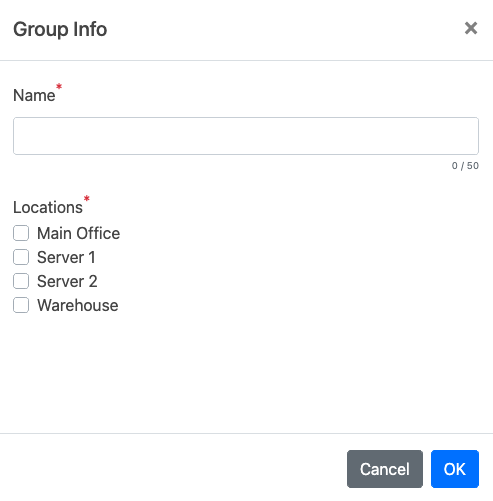
- Type in the group name in the the Group Info pop-up window.
- Select locations that you need to assign in that group.
- Click OK button to proceed.

How to edit a Group
- Click the Action button on the right side of the group's row.
- Click the Edit Group button.
- Modify the zones assigned to this group by toggling the check boxes.
- Click the OK button to save the new settings.
- Click the Cancel button to cancel the action.
How to delete a Location
- Click the Action button on the right side of the group's row.
- Click the Delete Group button.
- Click the Delete button on the confirmation pop-up window to confirm the intentions to delete the group.
- Click the Cancel button to cancel the action to delete the group.
The Location Management Page allows the Admin type Users to Add and Delete locations.

- Search - A text field that filters out the location by their name.
- Show - Changes the maximum number of items to show on the Results.
- Results - It displays the results on the search parameters you’ve set.
- Action Button - It displays a pop-up window that gives you option to delete a location.
- Add Location - It displays a popup window that allows you to add a new location.
How to add a New Location
- Click the Add Location button to open the Location Info pop-up window.
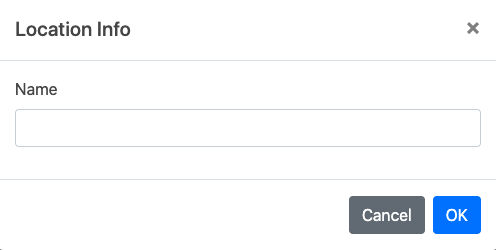
- Type in the location name in the the Location Info pop-up window.
- Click OK button to proceed

How to delete a Location
- Click the Action button on the right side of the Location's row.
- Click the Delete Location button.
- Click the Delete button on the confirmation pop-up window to confirm the intentions to delete the location.
- Click the Cancel button to cancel the action to delete the location.
The Settings Page allows the Admin type Users to Modify the fields for the inventory, edit and quick tag feature of the PAWN system.

How to modify field Display Name
- Click on the action button of the field and click Edit
- Change the Display Name
- Click OK to save changes
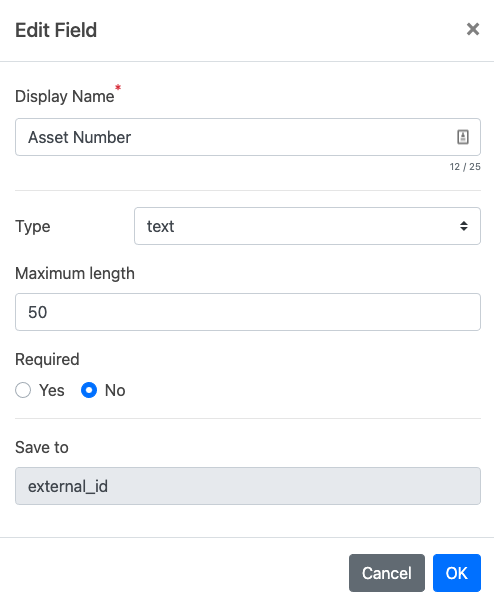

How to modify a Text/Dropdown field
- Navigate to the Field Name tab of Settings.
- Click on the action button of the field and click Edit.
- Click on the Type selector and toggle between text or dropdown.
Note: For text mode, length can be set up to 255 characters. - (Optional) Click on Yes under Required if the field is required to be filled when creating or editing.
- Click OK to save changes
 Text field
 Dropdown field
Note: Text and Dropdown mode can be interchanged at any time, but dropdown will lose all of its list contents when change to text mode
Default Fields
Below are the default fields available in Pogi.
| Database Name | Displayed Name | Field Type | Feature | |||
|---|---|---|---|---|---|---|
| Text | Drop Down | Date | System | |||
| attachment | Attachments | YES | This allows the user to attach multiple files. | |||
| brand | Brand | YES | YES | These are fields that are editable by the user. The user can choose to use either a text type field or a drop down field. Should the user chooses to use a drop down field, they can add multiple selection as shown above. | ||
| category | Category | YES | YES | |||
| checkedout | Checked out | YES | YES | |||
| color | Color | YES | YES | |||
| coordinates | Coordinates | YES | YES | |||
| description | Description | YES | YES | |||
| entity | Event Source | YES | Picks up where the Quick Tag happened --- whether it's coming from Wave or WebUI. This is not displayed in the template. | |||
| external_id | Asset ID | YES | YES | These are fields that are editable by the user. The user can choose to use either a text type field or a drop down field. Should the user chooses to use a drop down field, they can add multiple selection as shown above. | ||
| image | Image | YES | Let's the user upload a single image attachment only. | |||
| last_calibration_date | Last Calibration Date | YES | This field is auto-populated by the date the item was last calibrated. | |||
| next_calibration_date | Next Calibration Date | YES | This is an auto-populated field. It returns the value based on the *Calibration Interval* | |||
| manufacturer | Manufacturer | YES | YES | These are fields that are editable by the user. The user can choose to use either a text type field or a drop down field. Should the user chooses to use a drop down field, they can add multiple selection as shown above. | ||
| marker | Marker | YES | This is a drop down field. It displays all the *Marker* tags available in the system. | |||
| model | Model Number | YES | YES | These are fields that are editable by the user. The user can choose to use either a text type field or a drop down field. Should the user chooses to use a drop down field, they can add multiple selection as shown above. | ||
| name | Name | YES | YES | |||
| option1 | Optional Field 1 | YES | YES | |||
| option2 | Optional Field 2 | YES | YES | |||
| option3 | Optional Field 3 | YES | YES | |||
| option4 | Optional Field 4 | YES | YES | |||
| option5 | Optional Field 5 | YES | YES | |||
| option6 | Optional Field 6 | YES | YES | |||
| option7 | Optional Field 7 | YES | YES | |||
| option8 | Optional Field 8 | YES | YES | |||
| owner | Created By | YES | This is a drop down field. It displays all the *Users* available in the system. | |||
| quantity | Quantity | YES | This is a text field. The user can enter any numerical value. | |||
| serial_number | Serial Number | YES | YES | These are fields that are editable by the user. The user can choose to use either a text type field or a drop down field. Should the user chooses to use a drop down field, they can add multiple selection as shown above. | ||
| size | Size | YES | YES | |||
| sku | SKU | YES | YES | |||
| state | State | YES | This does not display on WebUI Quick Tag. This picks up any items that are missing and displays it in Pogi's Audit Report and *Missing Item* in Wave. | |||
| style | Style | YES | YES | These are fields that are editable by the user. The user can choose to use either a text type field or a drop down field. Should the user chooses to use a drop down field, they can add multiple selection as shown above. | ||
| tagId | RFID | YES | This is a text field. Allows the user to manually input 24-digit Hexadecimal value | |||
| zone | Location | YES | This is a drop down field. It displays all the available *Location* | |||
| updateDate | Last Updated | YES | This field is auto-populated by the last time an asset has been updated. | |||
| parent | Parent/Container | YES | This field defines the parent tag being used by the *Move* or *Pack* feature | |||